
Blog · Family trees
How to make a family tree, step by step
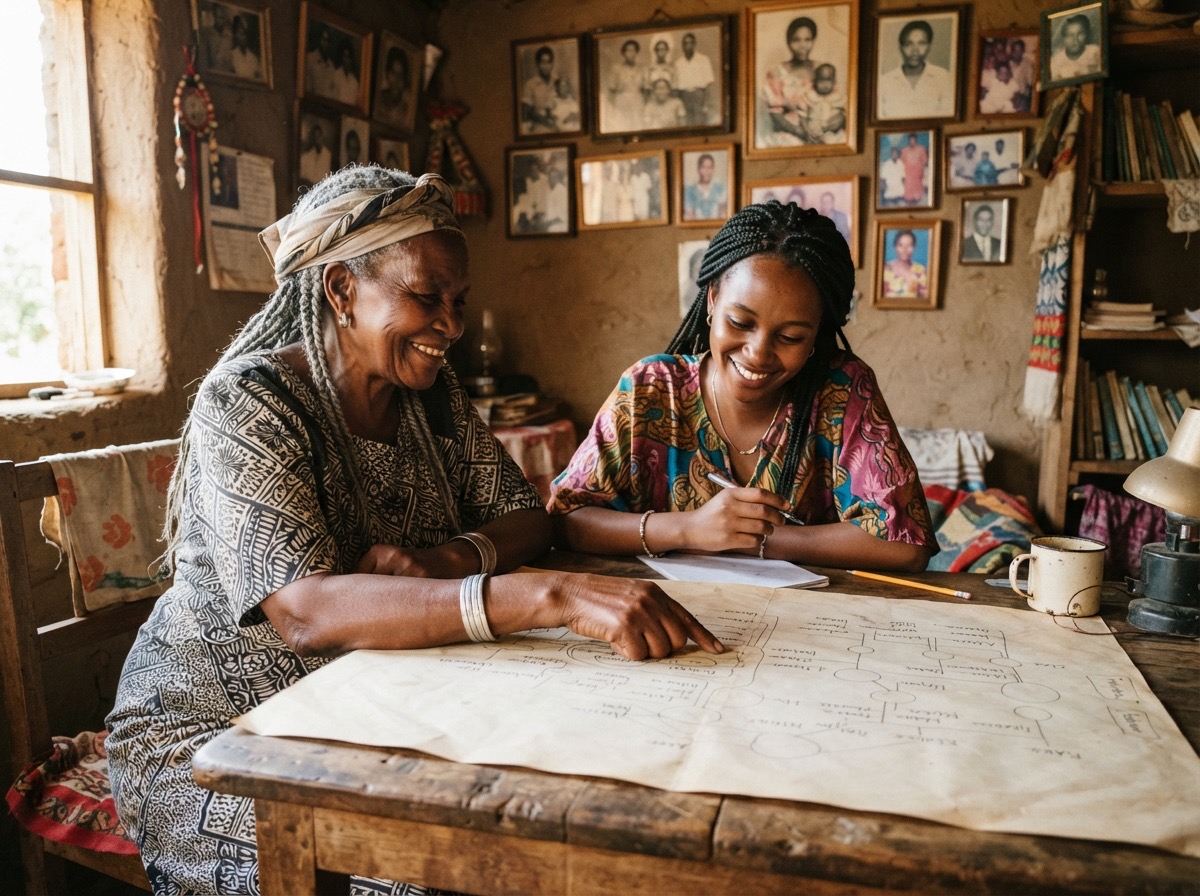
A family tree sounds like a big project. It is not. You can start this afternoon with a pen, a sheet of paper and one phone call to the oldest person in your family. This guide takes you from that first call to a tree your whole family can use.
Step 1: Start with yourself
Write your own full name in the middle of a page. Above you, write your mother and your father. Above them, write their parents. That is already three generations. Below you, write your brothers and sisters, and your own children.
Do not worry about getting it perfect. A tree is built by adding, one person at a time. Everything you do not know yet is simply a gap to fill later.
Step 2: Write down what you already know
For each person, note only the basics:
- Full name, and any other name people called them (a nickname, a church name, a name from home).
- The year they were born, or a guess such as "around 1950" if you are not sure.
- The year they passed on, if they have.
- Who they were married to.
- Where they lived, in a word or two.
If you are unsure, write it down and put a question mark beside it. A guess you can check later is better than a gap.
Step 3: Ask the oldest people first
The people who remember the most are the ones you can lose first, so start with them. Visit your grandmother, your grandfather, the eldest auntie or uncle. Keep it relaxed, like a chat over tea, not a test.
Good questions to begin with:
- What was your mother's full name, and where was she from?
- How many brothers and sisters did you grow up with?
- Who was the first person in the family to move to the city, and why?
- What did your parents do for work?
- Is there a name in the family that we all carry? Who was the first?
Ask if you may record the conversation on your phone. People often tell much more when they are listening to their own memories, and you can write the names down properly afterwards.
Step 4: Use photographs to jog memories
Bring old photographs to the conversation. Show a picture and ask, "Who is this standing next to you?" Faces bring back names that no question can. Write the names on a sticky note, or say them aloud while recording, so you do not forget which person is which.
Step 5: Record the whole family, the way it really is
Real families are not always neat. A man may have had more than one wife. There may be half-brothers and half-sisters, children raised by an auntie, or cousins who were brought up as brothers. A good tree records all of them. When there are several wives, give each woman her own place, and put each child under their own mother. Nobody should be left out to make the picture tidier.
Step 6: Check, and keep the stories
When you have a first draft, ask a second relative to read it. Two people often remember differently, and you will catch mistakes. Where they disagree, note both versions. You can settle it later.
Then do the part most trees forget. A name and two dates tell you very little. Add one line of the person's story: "She walked to school for two hours each morning," or "He built the family's first house." Those are the lines your grandchildren will remember.
Where to keep it
Paper is a fine start, but it tears, fades and gets lost. A photograph of the page on one phone is not much safer. Choose one place that the whole family can see, and that does not depend on one person's phone. A shared document works. A family album works better, because the tree can sit beside the photographs of the same people.
A simple plan for this week
- Today: draw your parents, grandparents, brothers and sisters.
- Tomorrow: phone one elder and ask three questions.
- This weekend: gather ten old photographs and name the people in them.
- Next week: send your draft to one cousin and ask what you missed.
Common mistakes to avoid
- Waiting until you have "everything". Start now. A tree grows.
- Leaving out the women's families. Write mothers' and grandmothers' own family names too. They are half of your story.
- Only collecting names. Add a story to each person, however short.
- Keeping it on one phone. If that phone is lost, so is the tree.
In Album, your family's private album on your own web address, the family tree fills itself in as you tag people in photographs, and you can add parents, children, husbands, wives and half-brothers or sisters from each person's panel; see a demonstration album.